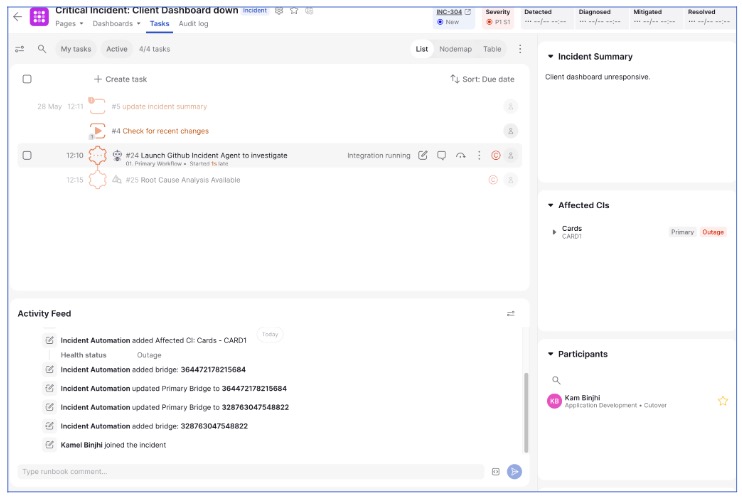
Cutover Incident Runbook
A Cutover Incident runbook is triggered automatically when an incident record is created in your third-party ITSM system. This guide explains how to use a Jira automation rule to automatically create an incident runbook in Cutover when a Jira issue is created.
Note: The automation rule provided in this guide is intended as an example and should be adapted to meet your organization's specific requirements. This is not limited to Jira, but a business rule can be created using other iTSM solutions such as ServiceNow.
Once the runbook has been created, updates made in Jira are automatically reflected across the different Cutover apps, and changes made in the Cutover apps are automatically reflected back to Jira.
Prerequisites
- You will need to ensure you’re a Project Admin on the Jira project that you would like to create the Jira Automation rule. A good way to test you have the right access is to see if the Project Settings are visible to you.
- You will need Workspace Runbook Creator or Folder Runbook Creator in the appropriate workspace to create a new runbook.
Supported Authentication types
Here are the Authentication types that Respond Apps supports:
- Basic
- Cutover Connect
- Token Auth
Steps for creating the Jira Automation Rule
1. Set up your Jira Automation Rule.
2. Test your Jira Automation Rule.
Set up your Jira Automation Rule
Once the prerequisites are met, you can create a new Jira automation by following these steps:
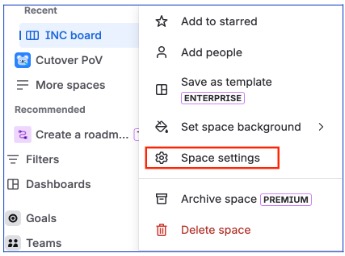
1. Navigate to your Jira Space > Select Space Settings.
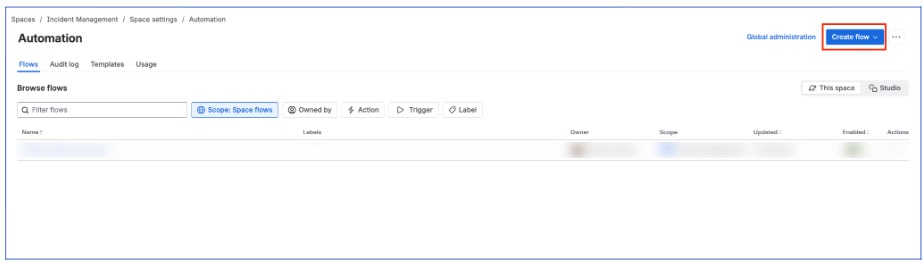
2. Click on Automation and you will be presented with a page as shown below:
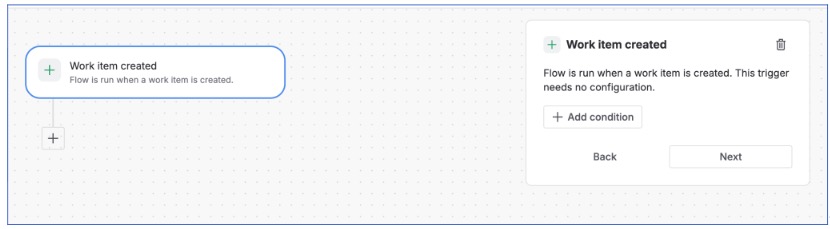
3. Click Create Rule > set Add a Trigger > Select Work item created. The rule should look like the following:
4. Click Next> click: Action> search for “Send web request”. The rule should look like the following:
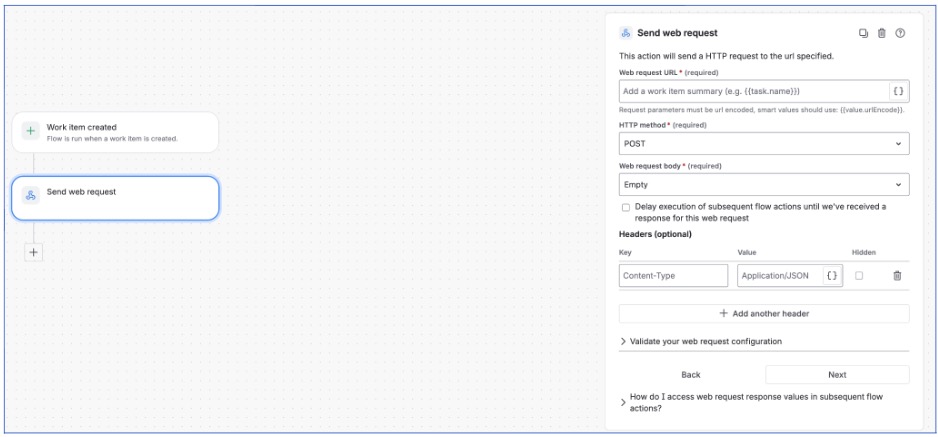
5. Update the Send web request form with the following details:
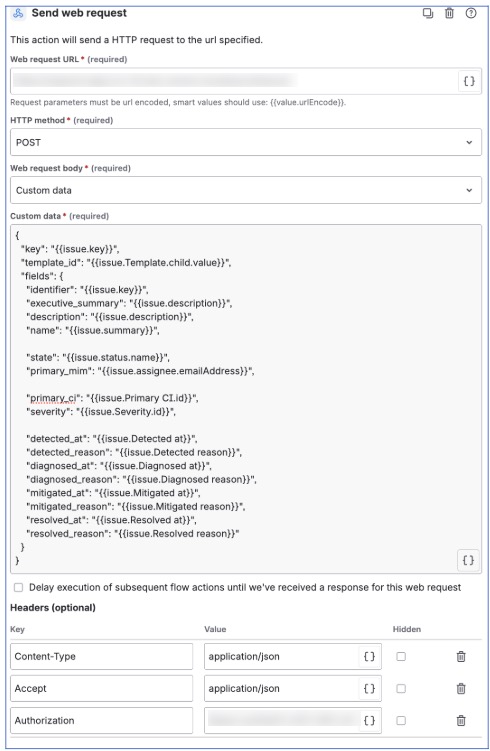
- Web request URL : Enter in your Base URL and add /sync/inbound to the end of the URL.
- HTTP method: Select POST.
- Web request body: Select Custom data.
- Custom data: Paste in the request body below:
In the example below the Jira Automation rule will trigger when a work item is created. The API will create an Incident Runbook.
{
  "key": "{{issue.key}}",
  "template_id": "enter your incident rb template ID",
  "fields": {
    "identifier": "{{issue.key}}",
    "executive_summary": "{{issue.description}}",
    "description": "{{issue.description}}",
    "name": "{{issue.summary}}",

    "state": "{{issue.status.name}}",
    "primary_mim": "{{issue.assignee.emailAddress}}",

    "primary_ci": "{{issue.Primary CI.id}}",
    "severity": "{{issue.Severity.id}}",

    "detected_at": "{{issue.Detected at}}",
    "detected_reason": "{{issue.Detected reason}}",
    "diagnosed_at": "{{issue.Diagnosed at}}",
    "diagnosed_reason": "{{issue.Diagnosed reason}}",
    "mitigated_at": "{{issue.Mitigated at}}",
    "mitigated_reason": "{{issue.Mitigated reason}}",
    "resolved_at": "{{issue.Resolved at}}",
    "resolved_reason": "{{issue.Resolved reason}}"
  }
}Note: We are using Jira Smart Values in the executive summary as shown in the code above. This will carry across the issue.description to populate the executive summary in Cutover.
- Headers (optional) - Add in the Key and Value as shown below:
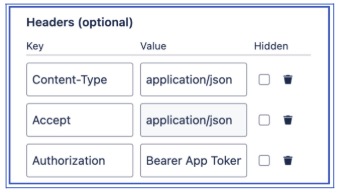
Note: For your Authorization values, write the word Authorization in the key field and in the value field write Bearer followed by your App Token. The rule should then look like the following:
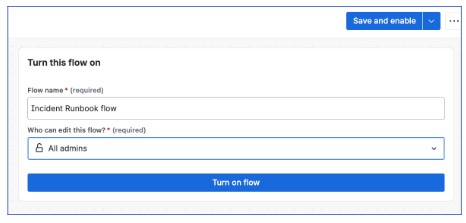
6. Click Next > Save and enable > Turn on flow
Test your Jira Automation Rule
1. Go back to your Jira Board where you have created your automation rule. Create a new issue ticket by clicking Create:

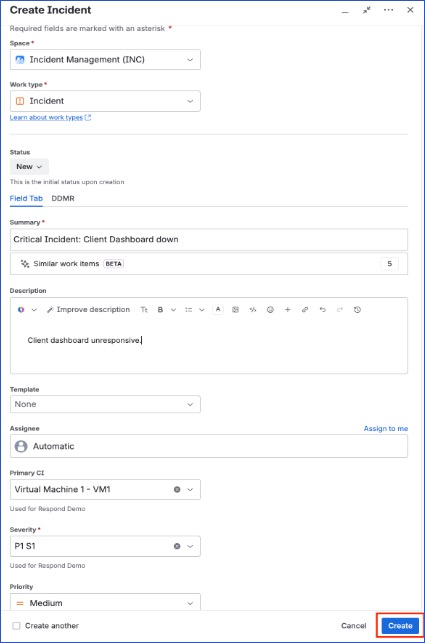
2. Enter all the relevant details into your new issue and click Create.
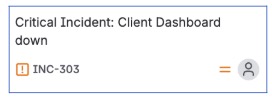
3. We can now see our newly created Jira work item.
4. Login to Cutover > Go to the workspace from which runbook template was copied from as specified in your code. You will see your newly created runbook.